Seasonality
Description
Pacific Ocean Wall is a spectacular wall of unbroken rock, 100-120m high, stretching for over a kilometer. Access to Pacific Ocean Wall has dramatically improved with the construction of the Grampians Peaks Trail which now runs along the base of the entire cliff, then turns back to run along the top of the cliff for half of its length before turning off towards Briggs Bluff. While the remote feel of the cliff has diminished to some extent, the spectacle of the cliff hasn’t and it is a lot easier to approach, inspect and descend from climbs on the wall.
Access issues
Designated
Probably would have been listed as "not permitted" by PV were it not for the legal action that was launched (but later dropped) by the VCC. PV relented by making this a Designated crag, as there was no specific reason to ban it.
Approach
30-45 min
Follow the Briggs Bluff trail via Beehive Falls. After the steep climb out of Beehive Falls, the track levels out and follows Pacific Ocean Wall southwards. Continue along the trail for about a kilometre before the cliff steepens and becomes more uniform.
Ethic inherited from Grampians
Grampians / Gariwerd access issues have emerged (2019) due to potential risk to the environment and cultural sites. Climbers need to be aware that there are significant Aboriginal sites in the Grampians, especially in cave areas. Please take time to understand the access situation. Leave no trace and climb responsibly.
Please note that due to the fact that the Grampians is a National Park, dogs and other pets are not allowed in the park except in vehicles on sealed roads and in sealed car parks.
===Cliffcare Climber’s Code===
Find out about and observe access restrictions and agreements.
Use existing access tracks to minimise erosion - keep to hard ground & rock surfaces.
Do not disturb nesting birds or other wildlife.
Protect all native vegetation, especially at the base of cliffs. Wire brushing to remove mosses and 'gardening' in cracks and gullies is not permitted. Use slings to protect trees while belaying or abseiling if belay anchors are not provided.
Respect sites of geological, cultural, or other scientific interest. Do NOT develop new climbs in or near Cultural Heritage sites.
Chalk has high visual impact - minimise your use of it. Parks Victoria have requested the use of coloured chalk in Gariwerd.
Minimise the placement of fixed equipment, especially where Trad gear is available. Respect any "no bolting" areas.
Do not leave any rubbish - take it home with you.
Dispose of human waste in a sanitary manner (bury, or even better pack it out). Do not pollute water supplies.
Off-road driving is illegal in Gariwerd.
Keep campsites clean, and do not light campfires outside of official metal fire pits.
For more detailed information visit https://www.cliffcare.org.au/education
Tags
Plan your Trip
Did you know?
Did you know that you can create an account to record, track and share your climbing ascents? Thousands of climbers are already doing this.


Selected Guidebooks more Hide
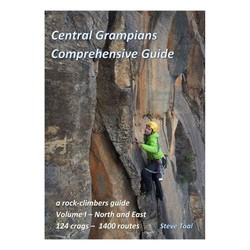
Author(s): Steve Toal
Date: 2019
The Central Grampians Comprehensive Guide books are the most extensive climbing guide to the Grampians. With two volumes they cover the popular areas but also many of which have never been in print before.
Volume 1 of the Central Grampians guide covers the North and East regions and features over 1400 routes spread over 124 crags. Painstakingly put together by Steve Toal, his guides have now become the go-to for climbers for the area.
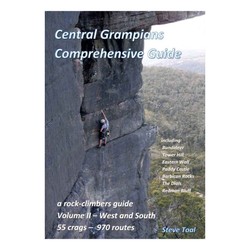
Author(s): Steve Toal
Date: 2019
The Central Grampians Comprehensive Guide books are the most extensive climbing guide to the Grampians. With two volumes they cover the popular areas but also many of which have never been in print before.
Volume 2 of the Central Grampians guide covers the West and South regions and features over 970 routes spread over 55 crags. Painstakingly put together by Steve Toal, his guides have now become the go-to for climbers for the area.
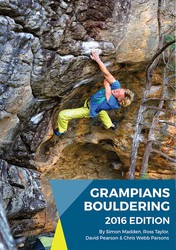
Author(s): Simon Madden, Ross Taylor, David Peason and Taylor Parsons
Date: 2016
ISBN: 9780646955544
"Australia's premier bouldering destination! The new 2016 Edition Grampians Boulder guide authored by Simon Madden, Ross Taylor, David Peason and Taylor Parsons. It contains more than 1300 problems which is double the original guide. Heaps of new information on established areas as well as the inclusion of plenty of boulders and crags not published before. It also features update idiot proof layout and expanded history and culture notes. Get one and start cranking!"
ⓘ
Accommodations nearby more Hide
Share this
Thu 8 Jun
Check out what is happening in Pacific Ocean Wall.
Get a detailed insight with a timeline showing
- Ticks by climbers like you
- Discussions of the community
- Updates to the index by our users
- and many more things.
Login to see the timeline!